Starlink Installation is a step-by-step process to perfectly set up your Starlink dish without any obstruction, connecting it to a WiFi router through a cable and powering the whole system with an electric source of 50–75W via a power cable. According to Starlink’s official website, installation of Starlink is a DIY (do-it-yourself) process. Yes, you heard right; you can easily install or set up Starlink on your own without requiring any technical degree.
Though Starlink officials also provide an installation instruction sheet, that is not sufficient to understand the whole installation process. Today, in this guide, you will appreciate the step-by-step process to install your Starlink and get an internet connection successfully for yourself. You have to just read and apply those steps to quickly install or set up your Starlink.
Contents
Tools Required For Installing Starlink
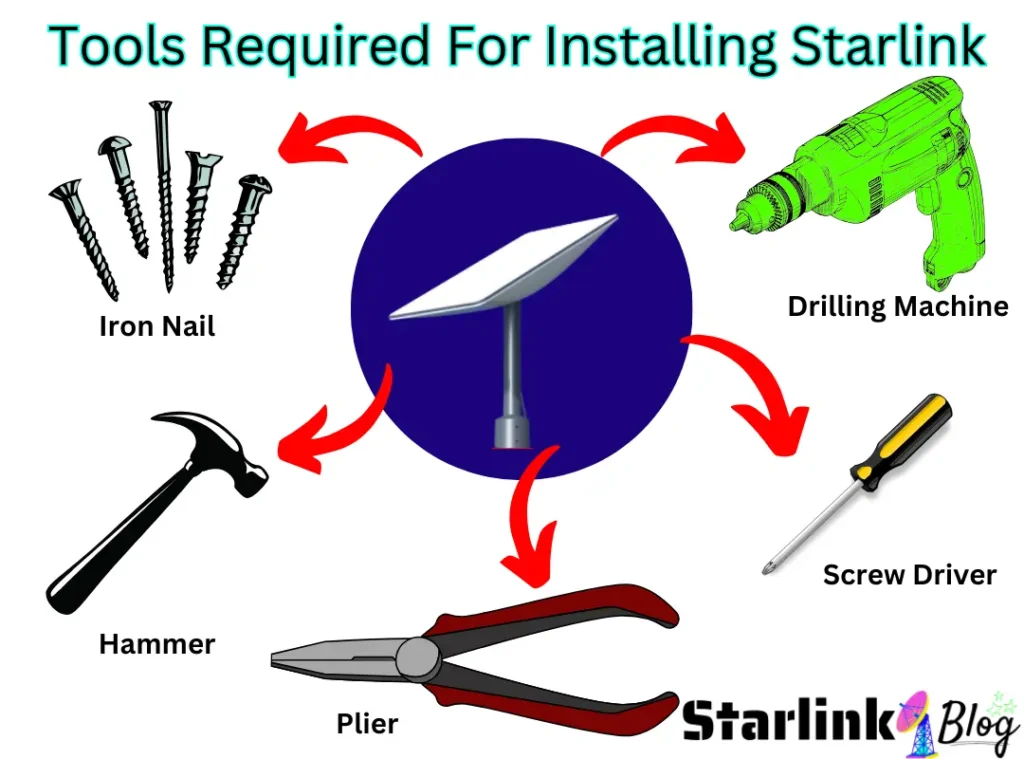
Installation of Starlink is somewhat technical work that requires your experience with specific tools given in the list below and also some masculine power.
| S. No | Tool | Use in Installation |
|---|---|---|
| 1. | Plier | To cut or bend the Starlink cable |
| 2. | Screwdriver Set | To mount the base of the Starlink Dish |
| 3. | Hammer | To drive iron nails |
| 4. | Iron Clips | To stick the cable on walls from the roof to your desired location |
| 5. | Drilling Machine | Drill a hole in the roof to fix the mounting base or in the wall to pass the wire. |
Those who don’t know how to use the above tools or do not have any prior experience with them can still continue the installation process because you can ask for anyone’s help to do the above things. You can also do it yourself for the first time.
Starlink Installation in Simple Steps
I have provided 7 steps for easy installation in a list format to summarize all the steps you are going to do to enjoy your wireless internet connection.
- Unbox your Starlink Kit.
- Install the Starlink Official App.
- Set up your Starlink dish and avoid all obstructions by checking it with the Starlink app.
- Plugging the dish with one end of the Starlink wire.
- Now plug the other end of the wire into the Router.
- Plug the power cable into the WiFi router.
- Enjoy your unlimited Internet service.
Now, let’s understand each step in detail for your convenience and to make it easy to understand the entire process.
1. Unpack The Starlink Kit
Getting a Starlink Kit for yourself is a pretty long process, and many times, if you are outside North America, then you will be put on the waitlist by Starlink. So now we are heading toward our first step: unboxing your Starlink kit. Usually, this hardware comes with a standard Starlink kit in a particular order.
- Mounting Base – To provide a fixed position for the Starlink dish.
- Starlink Dish – To receive Internet through a Satellite constellation.
- WiFi Router – To provide internet facility to your devices.
- Starlink Cable – To connect the dish to a router.
- Power Supply Cable – To provide power supply to the router and the entire system.
2. Install The Starlink App
Officially, there is no expert from the Starlink company to help you through your installation process, but they provide you with an application that you can download on your device (Android and PC). This Starlink app will help you through your installation process by identifying obstructions, checking internet speed, and many other advanced features. This app acts as your virtual assistant.
You will have to enter your registered e-mail address and password in order to access the app. This app will also help you find any issues in your installation with its troubleshooting.
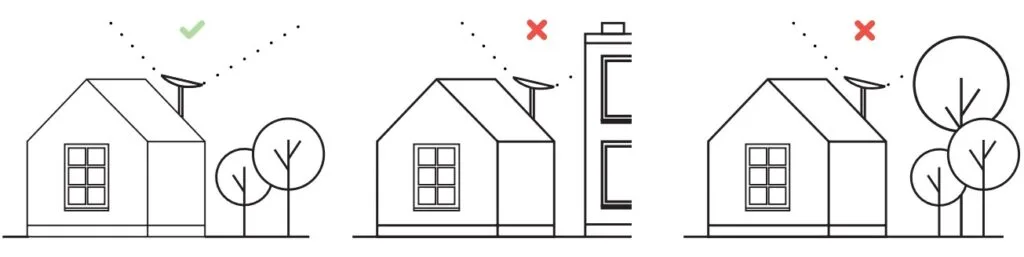
3. Avoid Obstructions
Now, it is time for a crucial step for Starlink installation, which is to identify the location that doesn’t hinder the Starlink dish from accessing the signal through satellite. Large trees, tall buildings in front of your house, and close surrounding areas are some obstructions that can cause your Starlink dish to not function properly.
Starlink Internet works on Low-Earth-Obit and Phased Array Antenna Transmission technology, in which whenever a user wants access to a certain webpage or other online stuff, Starlink dish requests access to Starlink satellite, which either sends a signal to its neighbor satellite or to ground stations directly. Ground stations access this request to the server, which in return grants access, and then the reverse process starts from the ground station to the satellite dish and, finally, to your device.
In order to make this process fast, the Starlink constellation revolves at 550 km altitude, providing low latency and high internet service. Starlink satellites and ground stations communicate with each other via radio waves that can travel through a vacuum. As per CISA (Cybersecurity and Infrastructure Security Agency), radio signals can obstruct or interfere with buildings or topography (trees, mountains, or others).
With the help of the Starlink app, you can check for obstructions, and it also enables you to find the best location for your app. Just open the Starlink app, click on Start Setup (#Picture 1), and then choose the dish shape that you got in your kit (#Picture 2). Now, it will ask you to plug in your power cable, which I will tell you about in the next step.
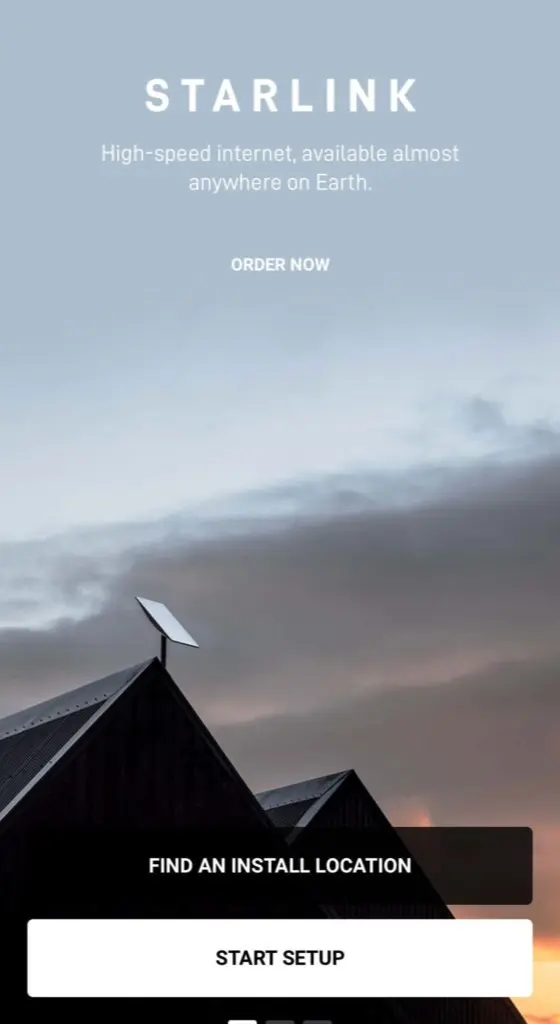
Starlink’s Initial Homepage
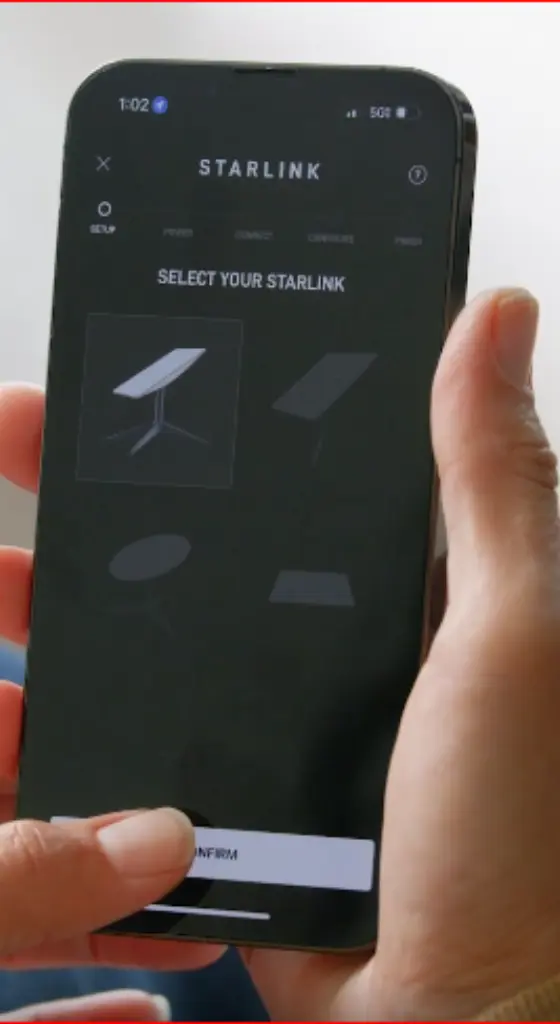
Starlink Dish Type Options
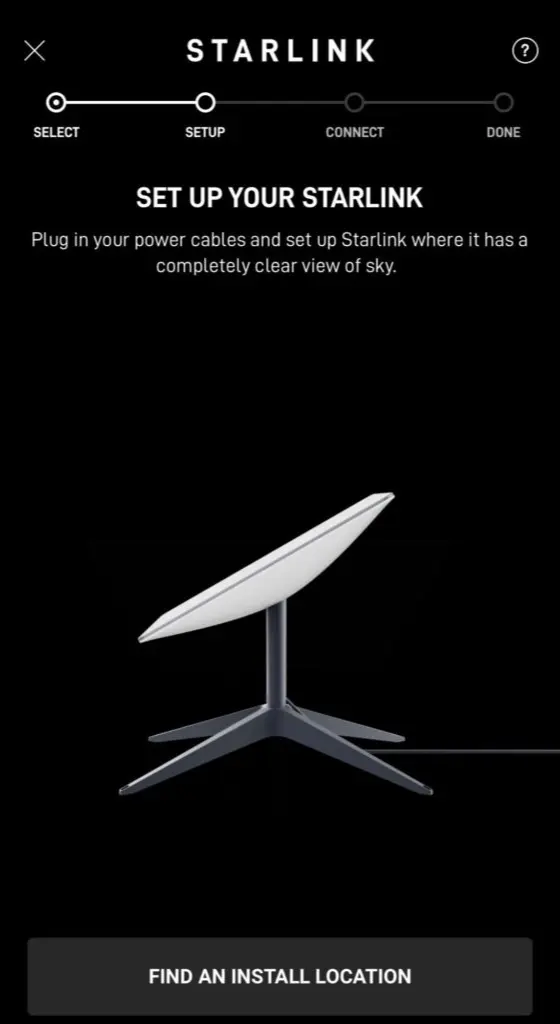
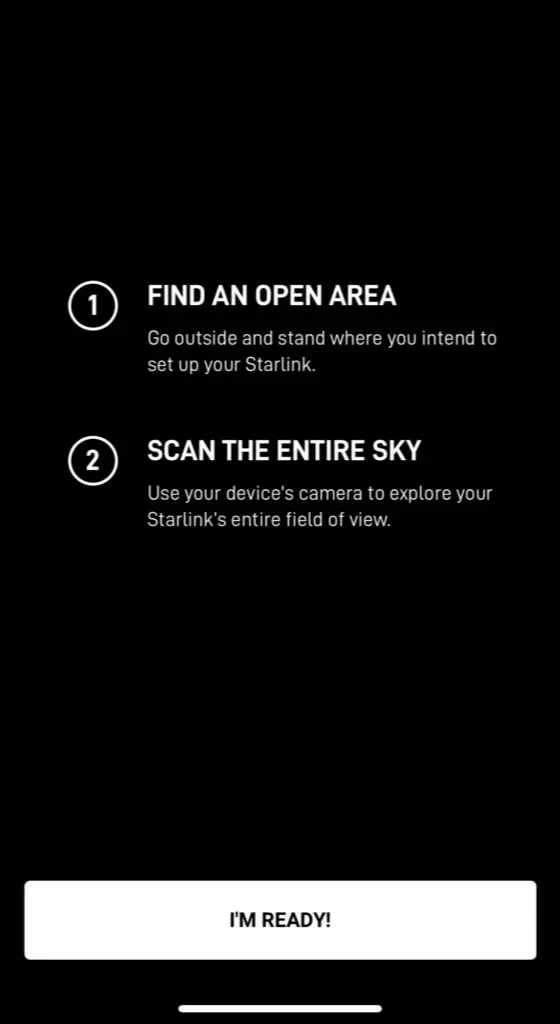
Then you get a section of “FIND AN INSTALL LOCATION” (given in #Picture 3) and then choose “I’M Ready” (#Picture 4).
In the next section, you will have to scan the entire sky in your desired location (#Picture 5), and the app will show you green dots. Collect the green dot as much as you can. After 100% completion, it will provide obstruction your antenna will face in the position if you install your dish in that location (#Picture 6).
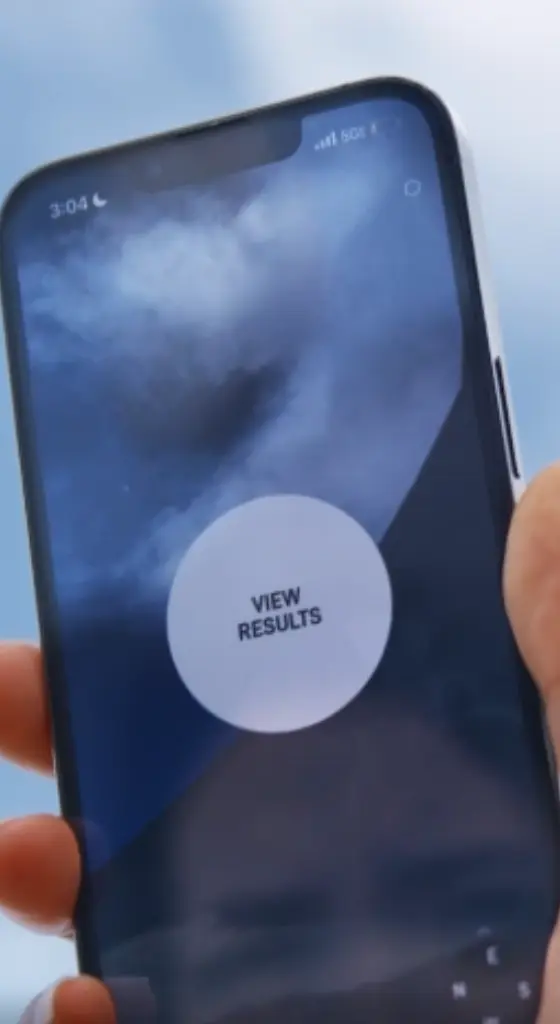
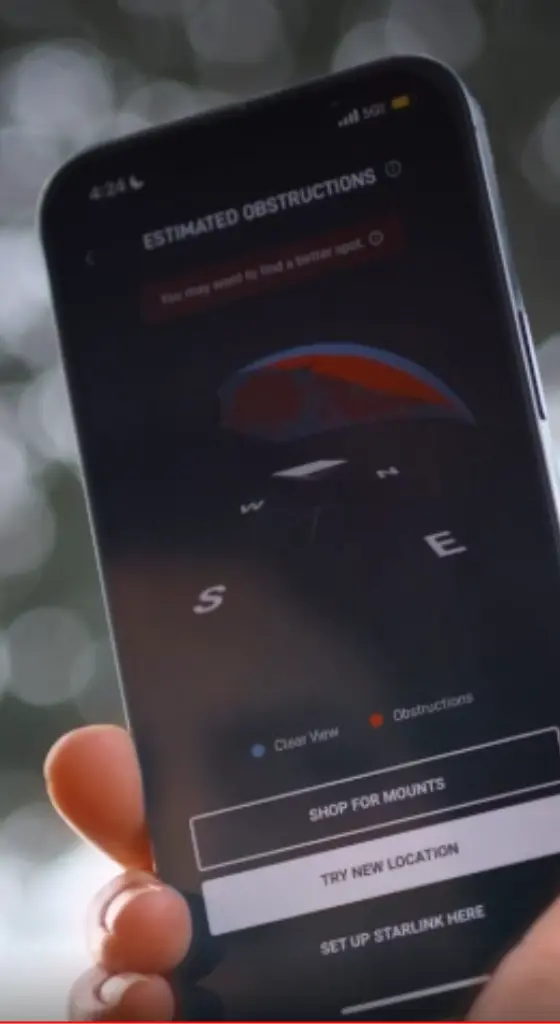
Though that obstruction field was an estimation, the real analysis you will get once you complete your installation and your dish works (collect data) for 24 hours. As per experts and Starlink officials, the best place to install your Starlink dish is on the roof.
4. Setup Starlink Dish
The Starlink dish needs a 100-degree field view toward the sky in order to communicate with the satellite. The dish has motorized self-orientation technology, which allows it to adjust itself to get the maximum data from the satellite. In order to set up the Starlink dish, first fix the base. If you purchased a Standard Starlink kit, then you will get a mounting base, which you can fix on your roof by drilling holes and driving nails into it with a screwdriver.
Though for different roofs of your house, the company has provided different mounting opinions to set up your Starlik dish. All of them are given below in the table.
| S.No | Mounting Position | Mounting Position |
|---|---|---|
| 1. | PIPE ADAPTER MOUNT | Over Top of Existing Pole |
| 2. | SHORT WALL MOUNT | On the Exterior Wall Near the top of the gable |
| 3. | LONG WALL MOUNT | On the Exterior Wall Near the top of the gable with extra length |
| 4. | GROUND POLE MOUNT | Mounting Position |
| 5. | PIVOT MOUNT | On Shingled roof |
| 6. | FLASHING MOUNT | On Shingled roof |
| 7. | RIDGELINE MOUNT | On in-ground installation |
5. Start Pluging the Cable
Once you have successfully set up your dish at your desired location, it is time to plug in the cable. You will get Starlink cable in the kit, which is usually 50 feet long and sufficient and, by default, loosely connected to the Starlink dish. You have to gently remove it, and please don’t show your superpower in the process; otherwise, you may damage your cable.
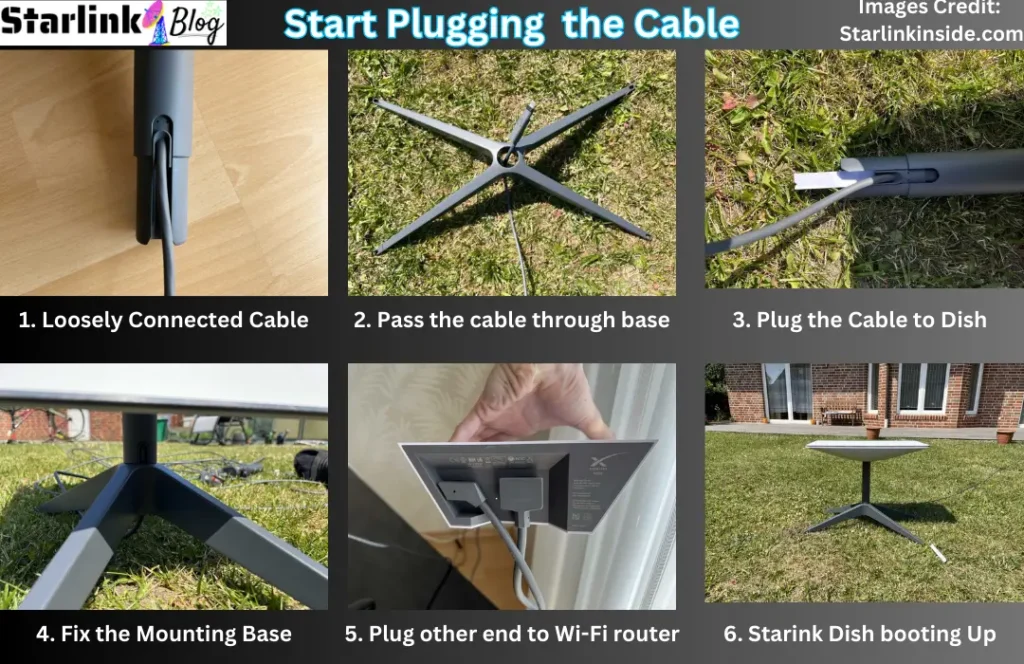
Pass the cable through your mounting base, and then insert it back into the dish. Once you successfully attach it, you will hear a clicking sound. Now plug the other end of the Starlink cable to the left side of the WiFi router, and on the right side, plug the power cable. You will get a white light that starts glowing if everything you did was perfect.
Also, your Starlink dish orient itself in a horizontal position, which is again a sign that your dish starts booting up and you have all the steps ideally.
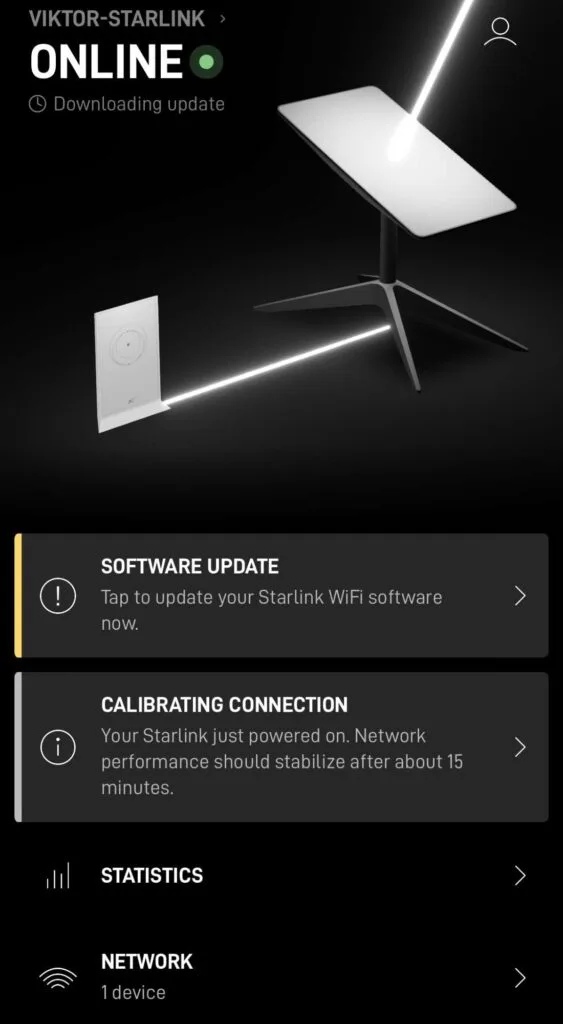
6. Getting Internet From the Router
Well done. Now, you have successfully set up your Starlink. So it’s time to get internet from the router for which you have done so much hard work. Be patient because Starlink dish sets up a connection with the Starlink satellite; as per Starlink officials, it usually takes around 15-20 minutes for Starlink to boot up. As the setup is complete, the app will inform you.
Now go to your Wi-Fi setting, and you will get either Starlink or Stinky hotspot’s name to connect. Once you click on the hotspot name, you will be redirected to the page where you can create your hotspot account and password.
After filling in those two essential things, click on “CREATE,” and your account creation will completed, and you will redirected to the homepage of your Starlink app, and now you will be online.
Checking Your Internet Speed
You can check your internet speed directly from the app, which has a section called “Speed Test” on the homepage, or you can use another third-party speed test service. Maybe for up to 24 hours, you will not get a maximum internet speed of 25–220 Mbps as promised by Starlink officials. But after 24 hours, you will definitely get it.
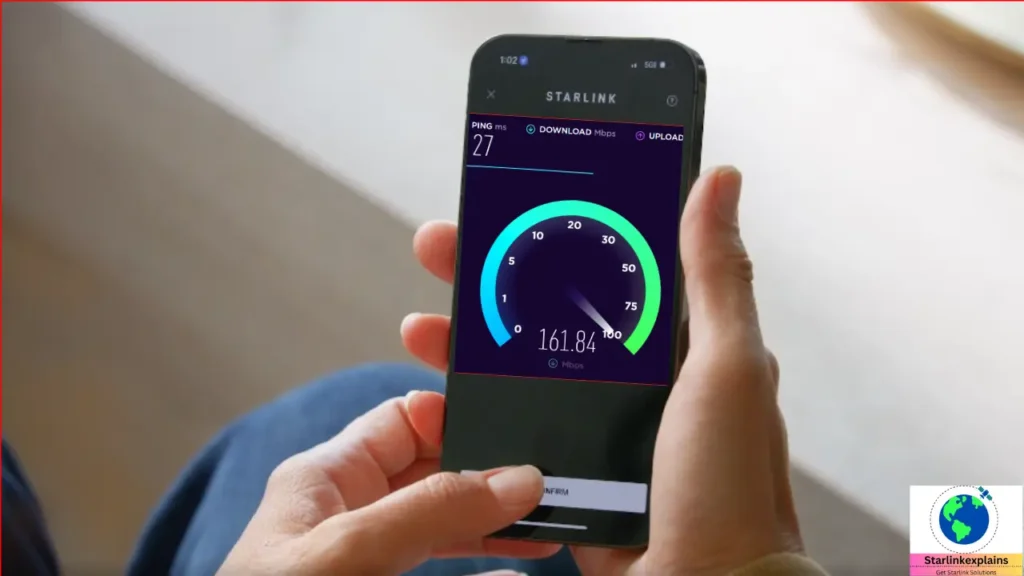
Internet speed depends on many factors, the primary one being your geographical location. Starlink is mostly active in North America, and their users experience speeds up to 100 Mbps+. Other factors, like the number of people connecting to the hotspot, your distance from the router, and the plan you are currently using, can also affect the internet speed.
What Is the Starlink Installation Cost?
The cost for Starlink installation is $0 because Starlink doesn’t provide any professionals to install your dish for residential and business plans. The price you have to pay is only for your kit and internet plans.
Troubleshooting For Not Working Internet
As of now, you have done all the things perfectly, but you are still not getting an Internet connection through Starlink. You have installed the dish in the best position in your view and done all the wiring correctly, but you still have problems. Starlink’s troubleshooting guide will help you through this.
3 fundamental problems are discussed with its troubleshooting below.
Visibility
Once after 224 hours of your installation, Starlink dish collects all the data and shows it on your Starlink app. There, you will get to know about obstructions the dish faces and how to install it in other perfect positions.
Outage
Sometimes, it’s not your fault at all. Starlink outages happen, though not frequently, because a technical expert is taking care of them. But still, it happens, and if the outage is the problem, then it will show on your app with the message “Starlink Is Suffering From Outage Currently.” For this, don’t worry; within a few hours, the problem will be resolved by the company.
Settings
If you are facing any other issue, then go through your advanced setting option that will enable you to know about the problem, if any will be occurring, like turning on or off the snow melt option, changing the hotspot name, or others.
Starlink Installation Support
If you want any support for your Starlink installation, then there are 2 ways by which you can do this.
1. Starlink Official Support
You can get Starlink official support by navigating to the Support page on Starlink’s website. On the page, select the support topics for which you have a problem, or you can ask for your query, and many FAQs start appearing on your device. If your query is in their FAQ, then you can read it. If not present, then you can contact them via initiating your support ticket because Starlink currently does not offer any phone number or e-mail to reach out to them.
It is written on the Starlink official website, Starlink support is 24/7 so you can ask any time and within a few hours you will get your response.
2. Starlink Community Support
This is another way you can solve your problem. The Starlink community is also very active and supportive. Many people already ask a lot of questions that may match yours, and you can also ask your questions. Within some minutes or hours, your doubt will be resolved by the experts.
Communities are present in Reddit, Quora, and other fan-made forums where you can reach out.
How To Pack Up Starlink?
It may also happen that you are the one who just wanted to try Starlink for a few days and now returned it. So, you have to replace the Starlink kit within 30 days from the date of purchase, and you will get a full refund as per Starlink’s policy. Well, packing up Starlink again into the box is a straightforward but careful process.
Steps to return the Starlink kit
- Initiate the return process by contacting Starlink’s customer support.
- Provide your order number and other details like g-mail to confirm your validity.
- From the support side, you will get your RETURN AUTHORIZATION NUMBER.
- Now, start packing up your Starlink accessories in the box in good condition.
- Shipped your packed box to the prepaid shipping label.
- Once your box reaches them and they find it in good condition, then you will get your return.
Final Words
Now you have learned all the things regarding how to set up and install a Starlink dish, configure your WiFi router, plug the cable properly, and also what you can do to return the Starlink Kit if you don’t like the service. If you still want to ask any query regarding the installation of Starlink or other topics related to Starlink, comment to us, and we will reply to you within 24 hours.